Michael J's build #2
- longhorn109
- Oberstleutnant

- Posts: 487
- Joined: Fri Mar 24, 2006 7:10 pm
- Location: UK
Re: Michael J's build #2
I am not even slightly jealous that you get to make a semi MG42. Well maybe a bit .......Arrgh I am I want one I can shoot as well, stupid politicians  The build is looking good, I hope it all goes smooth.
The only thing that helps me maintain my slender grip on reality is the friendship I share with my collection of singing potatoes.
-
Michael J
Re: Michael J's build #2
thanks for the complements both of ya  , hope to either get the rear welded up completely, or the shroud tacked together tomorrow! Perhaps both if time permits
  !
!
also: Don't mind all the rust, sandblaster is a little sketchy right now, so i am using a wire-wheel and just cleaning off the areas to be welded. No worries about me welding on the rust !
!
also: Don't mind all the rust, sandblaster is a little sketchy right now, so i am using a wire-wheel and just cleaning off the areas to be welded. No worries about me welding on the rust
-
Michael J
Re: Michael J's build #2
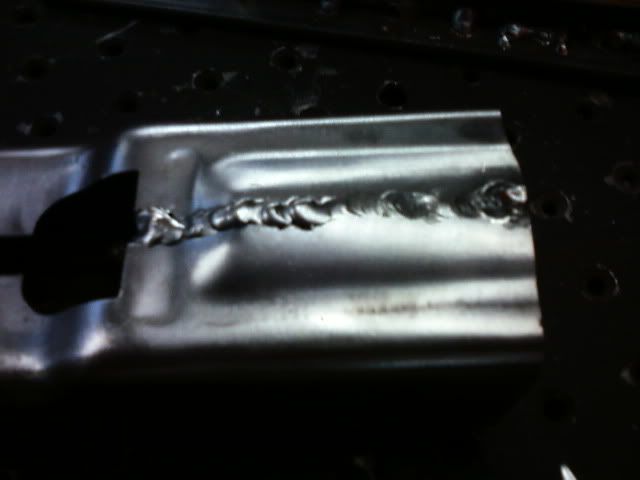
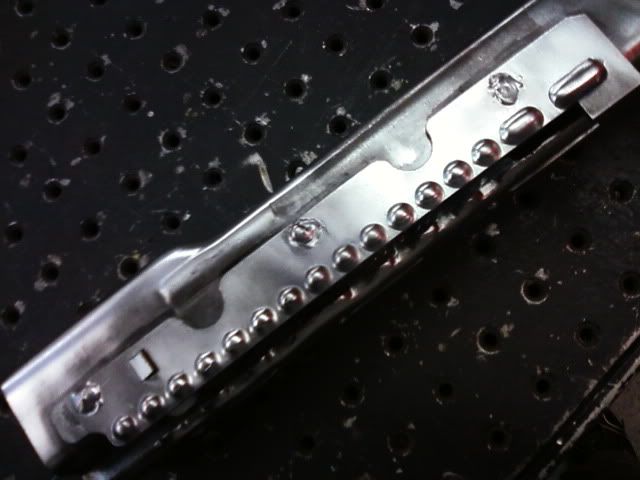
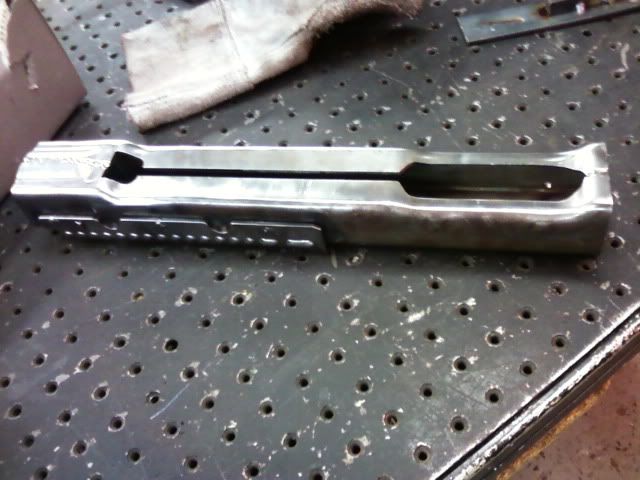
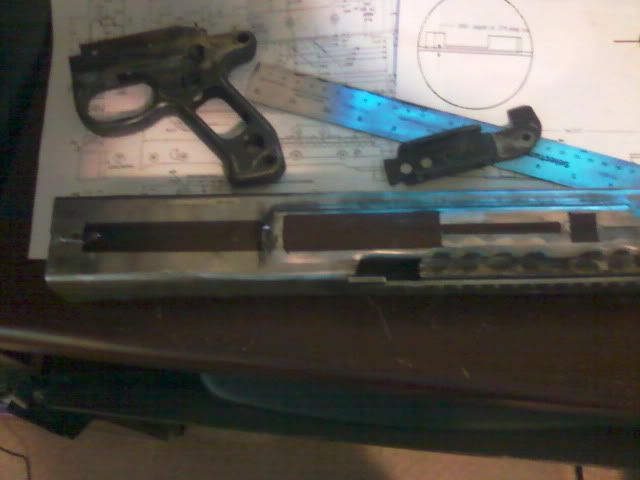
Finished welding them up, used a 1/4" piece of aluminum flatbar as my backing plate for the flat areas, but couldnt get it into the round spots like on the top. My beads don't look all that nice, but i was real sure to take it slow and in small increments of about one inch.
Not exactly pictured, but i ground down my welds, 99% solid and smooth. There were 2 small spots with limited porosity, but luckily those spots are to be cut out anyways for slots (note these spots in black sharpie).
Vertically, i think the height of the stampings are a little out of spec? My buffer does not wish to slide it, i'm thinking i will have to trim it, or grind a little bit of the tops and bottoms in the receiver itself. I'd much rather remove a little metal from the buffer though, i don't want to risk anything with my receiver.
Need to get my buffer tabs put in too, does anyone know if the BRP buffer tabs require any trimming? They both sit at about 1 - 9/16" long.
EDIT: connection troubles with computer, will get pics up tomorrow!
Re: Michael J's build #2
I am not sure about aluminium as backer,could it contaminate the weld? I think I read that somewhere,but not sure.When you weld,make sure to jump from spot to spot,keep heat builtup down.You may also want to jump if you get some spatter down the pants!  BTW-how did the sections get that surface rust?I saw a set of these recently and they were real nice.It almost looks like someone spent the summer having fun and forgot these poor,lonely parts!
  ---bil
"I dream of a world where I can buy alcohol,tobacco and firearms from the same drive-up window,and use them all on the way home from work!" Dogbert
- flemgunner
- Brigadegeneral

- Posts: 635
- Joined: Sat Apr 21, 2007 6:35 am
- Location: Texas
- Contact:
Re: Michael J's build #2
For backers I used copper tubing that Id cut to size and hammer into shape. It seemed to work pretty goos. My BRP tabs were the right size but that doesnt mean yours may not need to have some taken off. Place the tabs on the buffer outside of the receiver to see if they fit
-
Michael J
Re: Michael J's build #2
Bil:
Yeap, i was switching from back to front and top to bottom while welding to keep the heat spread out nice and even! Actually my stampings came with surface rust, look back to my rear-left stamping. it must have spread i tell ya
Actually i was told a good aluminum backer acts as a better heat sink than copper does over on the 1919a4 board? Because aluminum requires such a high current to weld due to its high conductivity, there was no weld contamination or anything. It did however serve its purpose as a good backing plate/heat sink, no issues there. I was careful to make sure the thickness was greater than that of my stampings metal to ensure it would not melt from the radiated heat though.
Flemgunner:
Thanks for the information regarding the buffer tabs, but i think my main problem is, i do not know how they are supposed to sit on the buffer? Like i mentioned, they are both 1 - 9/16" long, is that big?
Does it sit like this?
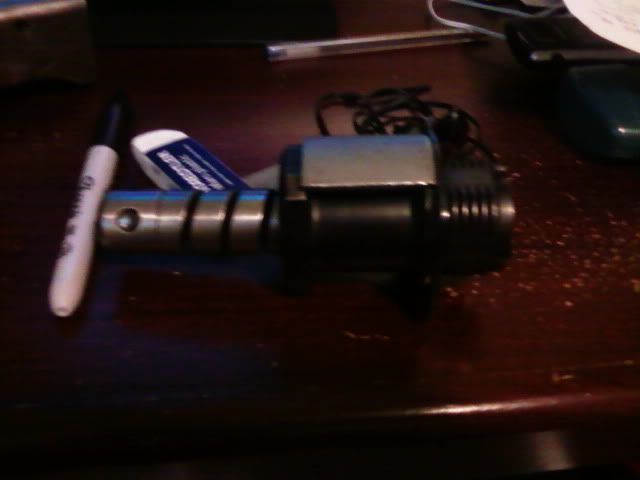
Or does it fit right below that into this?
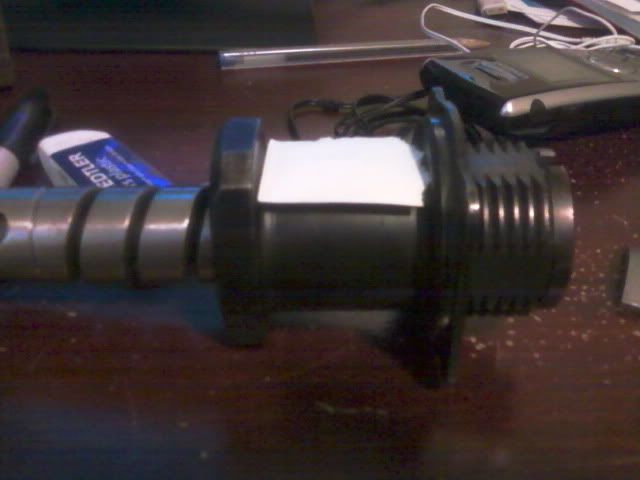
Sorry for all these questions! I promise i won't be this bothersome next time i build one
- flemgunner
- Brigadegeneral

- Posts: 635
- Joined: Sat Apr 21, 2007 6:35 am
- Location: Texas
- Contact:
Re: Michael J's build #2
should be like the second picture and fit pretty snuggly in there so there will be no play in it
-
rocco1911
Re: Michael J's build #2
Hey Mike here is our own Flems build on another site you really should visit and tell them I sent ya... 
http://www.prexis.com/sten/homebuilder/ ... icseen#new
http://www.prexis.com/sten/homebuilder/ ... icseen#new
-
Michael J
Re: Michael J's build #2
thanks flemgunner! Yes i will slowly remove metal until it fits real nice.
rocco, i have an account over there! just never gotten around to posting yet . Also, 1st page of this thread, flemgunner actually has the same build on this forum too, he linked it for me. I followed it quite closely, except for the part that i missed about the buffer not twisting in unless you grind a little bit of the receiver.... So today i patiently ground away the top and bottom until my buffer would twist in nicely, which i can assure you was FUN to do , seeing as it was all nicely welded up and easy to access
  !
!
Also cut out the grip slot, and will finish cutting out the ejection slot thingy, and some other holes on the bottom of the rear tomorrow. Once that is done, i'll get some more pics up. I hope to use my pics , and start a new thread to make a more complete BRP tutorial including the use of the front shroud stampings. I noticed flemgunner's primarily deals with the rear.
rocco, i have an account over there! just never gotten around to posting yet
Also cut out the grip slot, and will finish cutting out the ejection slot thingy, and some other holes on the bottom of the rear tomorrow. Once that is done, i'll get some more pics up. I hope to use my pics , and start a new thread to make a more complete BRP tutorial including the use of the front shroud stampings. I noticed flemgunner's primarily deals with the rear.
-
Michael J
Re: Michael J's build #2
This weekend's progress report:
Widened the slot on top for the bolt, also ground down my welds and sanded it smooth with my dremel. Marked out the two holes for rivet placement of the buffer tabs (although i will probably just weld them in , and grind the welds to appear as rivets).
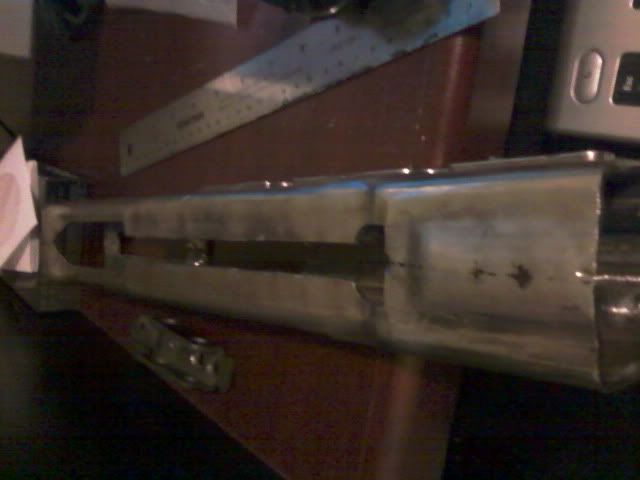
Ground out area for buffer to fit in, also did the inside of there so that it will twist in properly.
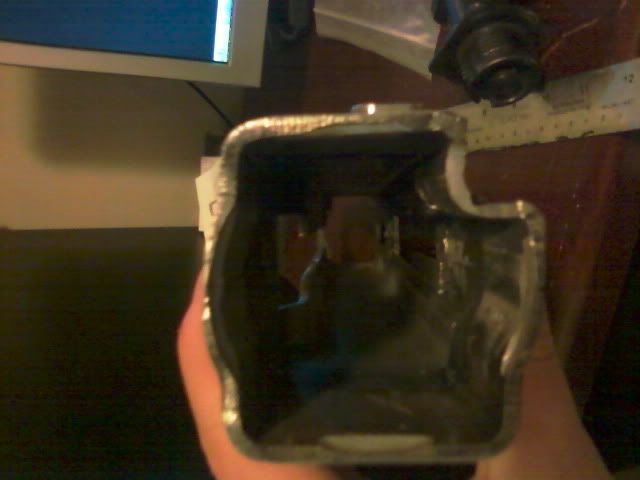
Cut away everything, grip installs good! Nice and tight, no play or wobble.
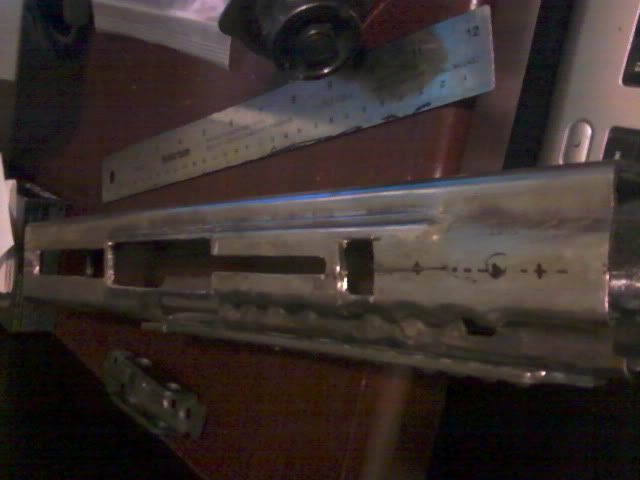
Ground down welds on ratchet plate, good as new .
.
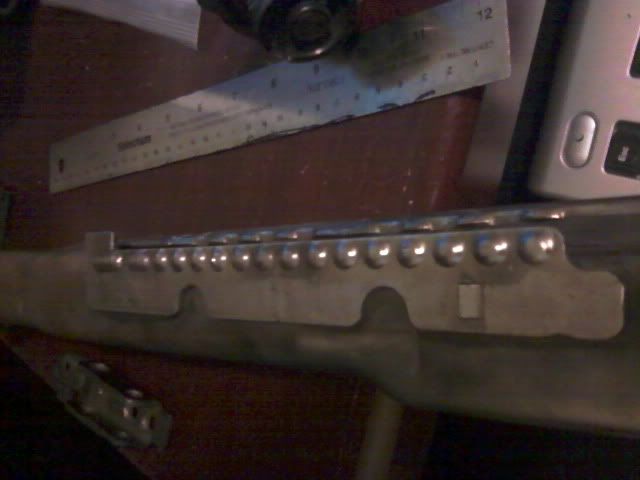
Widened the slot on top for the bolt, also ground down my welds and sanded it smooth with my dremel. Marked out the two holes for rivet placement of the buffer tabs (although i will probably just weld them in , and grind the welds to appear as rivets).

Ground out area for buffer to fit in, also did the inside of there so that it will twist in properly.

Cut away everything, grip installs good! Nice and tight, no play or wobble.

Ground down welds on ratchet plate, good as new

-
Michael J
Re: Michael J's build #2
not much progress today, spent most my time organizing literally a ton of flatbar , square tubing, and roundstock we had ordered for the shop! Holy , i was beat after that , but i managed to get a little done  .
.
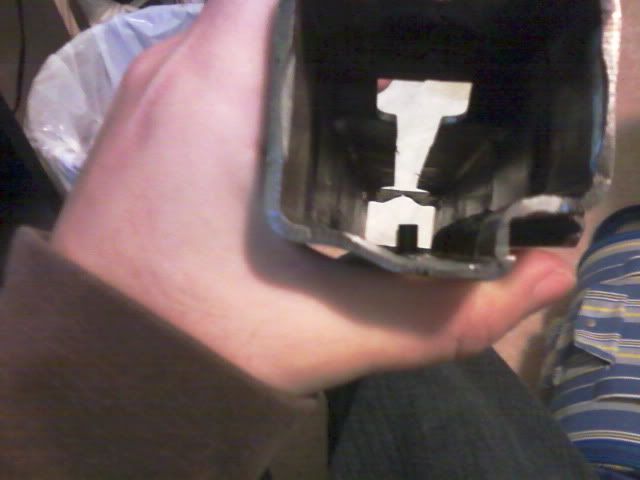
Machined out a small layer so that the blocking bar sits flush to the receiver (as indicated by the BRP instructional blueprints). You can see what i am talking about with their semi blocker shown to the left.
Am I allowed to upload their stuff and show you guys? I don't want to violate any copyright things with BRP though... Ah well, they wouldn't really be much use to you guys anyways unless you had BRP semi parts, and receiver stampings, but in that case they'd just send you your own copy
  .
.
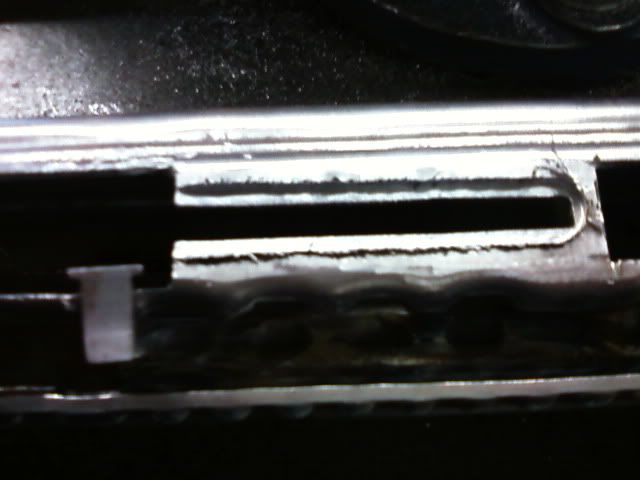
Machined out a small layer so that the blocking bar sits flush to the receiver (as indicated by the BRP instructional blueprints). You can see what i am talking about with their semi blocker shown to the left.
Am I allowed to upload their stuff and show you guys? I don't want to violate any copyright things with BRP though...

Re: Michael J's build #2
Nice work, careful when welding in that blocker. Poured to much heat into mne and receiver pulled together in that area. Had to slit, space and reweld. Nice work!!
Johnnymg
Johnnymg
-
Michael J
Re: Michael J's build #2
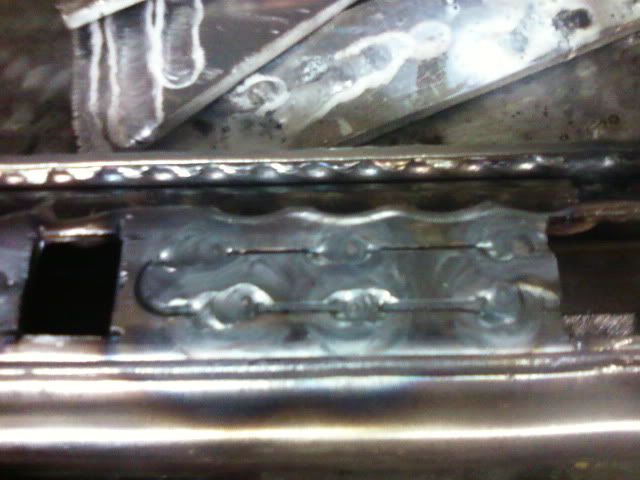
I had to gently hammer my blocker in, so there was absolutely no empty space available to possibly shrink. However i will have to double check my spacing with the bolt and rails to make sure my welds didnt shrink too bad...
I'll edit this post after i test it.
-
Michael J
Re: Michael J's build #2
ok can't edit anymore ... soo i test fitted my rails and bolt, it's all good  . I tried to keep heat exposure to a minimum because i was afraid of the receiver bowing, didnt even cross my mind that it could shrink it's width
  ! Thanks again for the heads up
  .
.
pics of blocker:
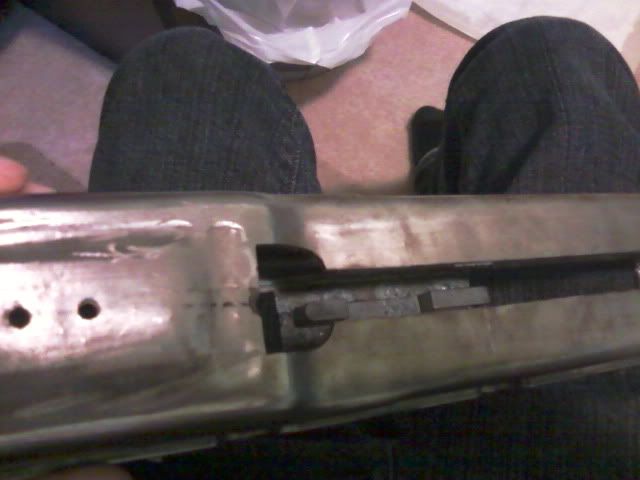
pics of blocker:


-
Michael J
Re: Michael J's build #2
Well update time  ...
...
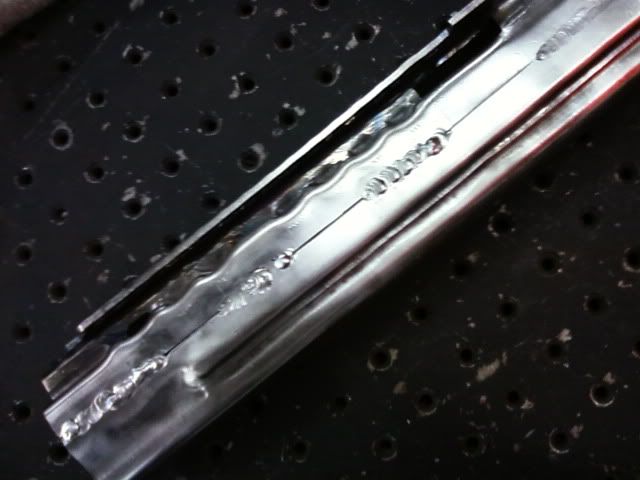
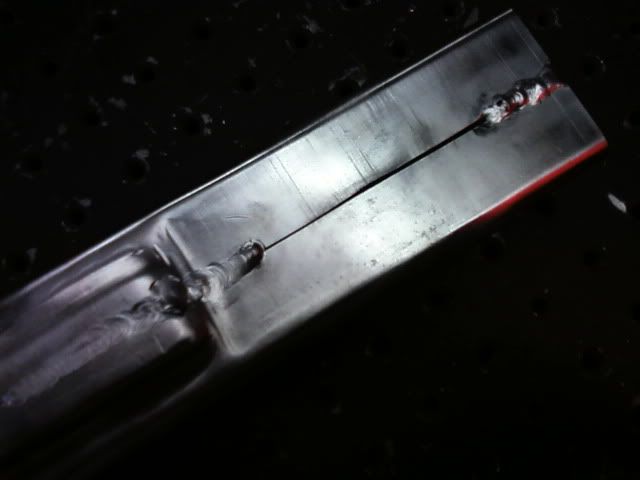
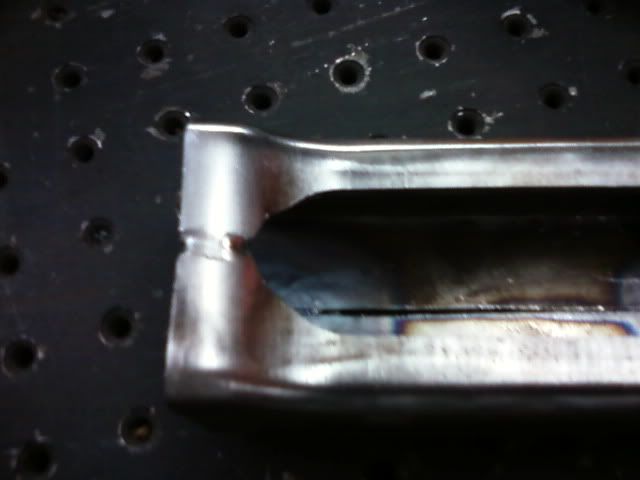
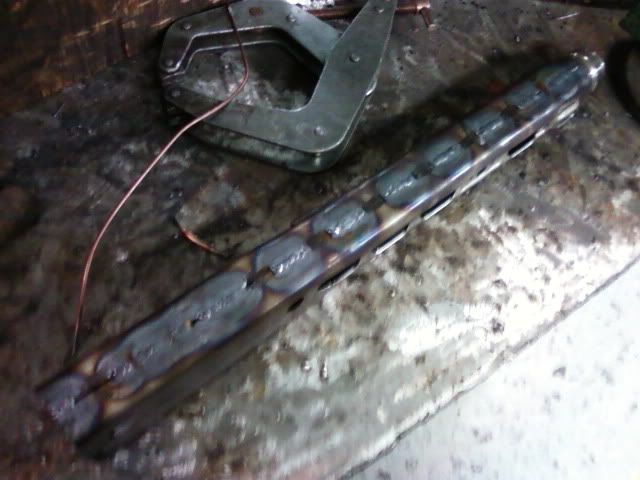
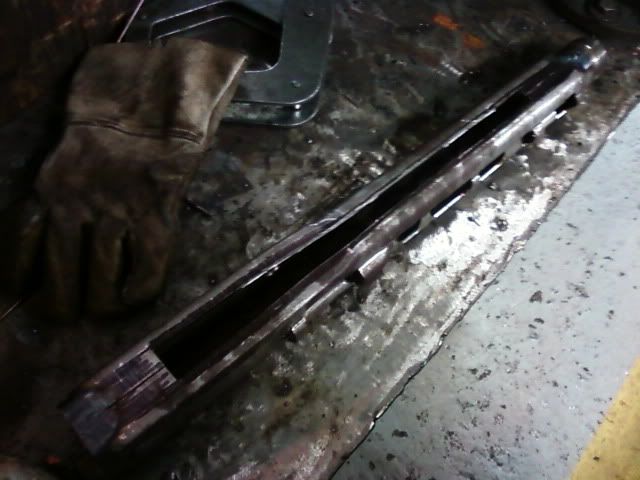
Working on my buffer tabs on the rear currently, opting to weld em in because i don't wanna mess with rivets, i'll just build up weld and make it look rivet-like! However i'll mess with that wednesday, today i welded up the barrel shroud! As you can see, i did stick the bushing in there, but don't have a fit just yet, i used it to space the metal so despite shrinkage, it will still fit later on . AKA ... it comes out without an issue, so no worries!
What i did was weld one end, then go to the other end, back and forth as to have nice even cooling and not over heat her. I didn't use a backing plate in some areas of the shroud itself, but i did use one for the camming areas.
It did not appear to have bowed to one side (despite there being virtually no welds on the right side. I put in relief cuts, per say, to mark out where i'd have to machine out holes on the left, but it appears that they acted to counteract shrinkage? Maybe i just haven't examined it closely enough, i will tomorrow !
!
edit: AAAAAHHHHH *pulls hair out* , wow i just remembered something i forgot , that is gonna be a pain in my butt to do! I never installed my AA sight base rivets, which would have been enormously less awkward to do without the pieces welded together... Oh boy
Working on my buffer tabs on the rear currently, opting to weld em in because i don't wanna mess with rivets, i'll just build up weld and make it look rivet-like! However i'll mess with that wednesday, today i welded up the barrel shroud! As you can see, i did stick the bushing in there, but don't have a fit just yet, i used it to space the metal so despite shrinkage, it will still fit later on
What i did was weld one end, then go to the other end, back and forth as to have nice even cooling and not over heat her. I didn't use a backing plate in some areas of the shroud itself, but i did use one for the camming areas.
It did not appear to have bowed to one side (despite there being virtually no welds on the right side. I put in relief cuts, per say, to mark out where i'd have to machine out holes on the left, but it appears that they acted to counteract shrinkage? Maybe i just haven't examined it closely enough, i will tomorrow


edit: AAAAAHHHHH *pulls hair out* , wow i just remembered something i forgot , that is gonna be a pain in my butt to do! I never installed my AA sight base rivets, which would have been enormously less awkward to do without the pieces welded together... Oh boy
- flemgunner
- Brigadegeneral

- Posts: 635
- Joined: Sat Apr 21, 2007 6:35 am
- Location: Texas
- Contact:
Re: Michael J's build #2
Looking good man. I wouldnt sweat the rivets there is always something
- www.Prussia.us
- General

- Posts: 1060
- Joined: Sun Jan 06, 2008 7:17 pm
Re: Michael J's build #2
Michael, I just caught up on your thread from the past month, nice work; to quote the great Peter Griffen, "Holy Crap" you are really moving along 
“… corporations have been enthroned, and an era of corruption in high places will follow, … until all wealth is aggregated in a few hands and the Republic is destroyed.”
- Abraham Lincoln (Republican), Nov. 21, 1864
- Abraham Lincoln (Republican), Nov. 21, 1864
-
Michael J
Re: Michael J's build #2
Thanks guys  , took some pics of it all cleaned up , and i used the wire wheel to rid of all my surface rust. Mind you, still needs a good sandblast for the inside ... But this will do for now!
Also, as you can see, no apparent warping, so i'm happy! I will get my necessary stuff cut out first, then worry about the ventilation holes on the side after most likely, i still don't know the dimensions of them? Same as the holes on the top?
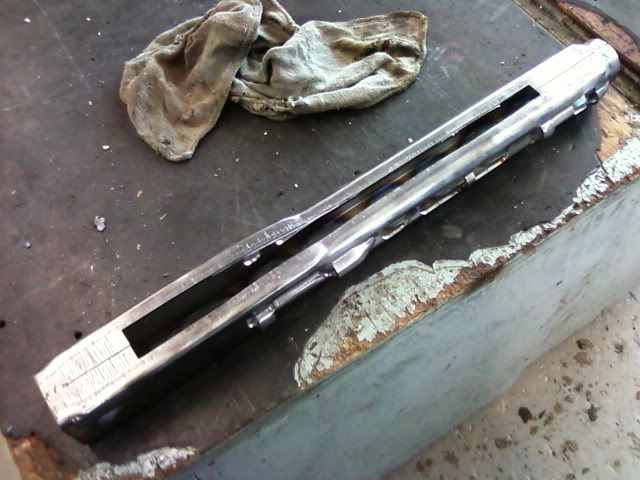
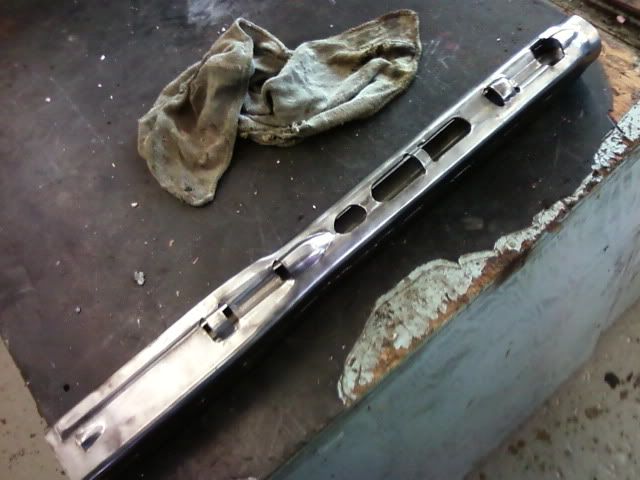
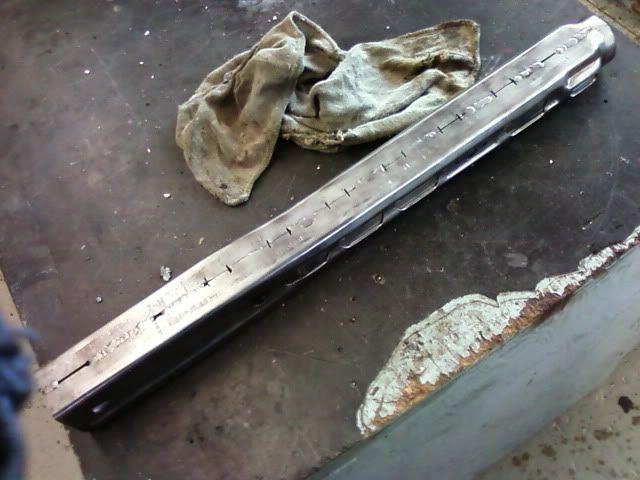
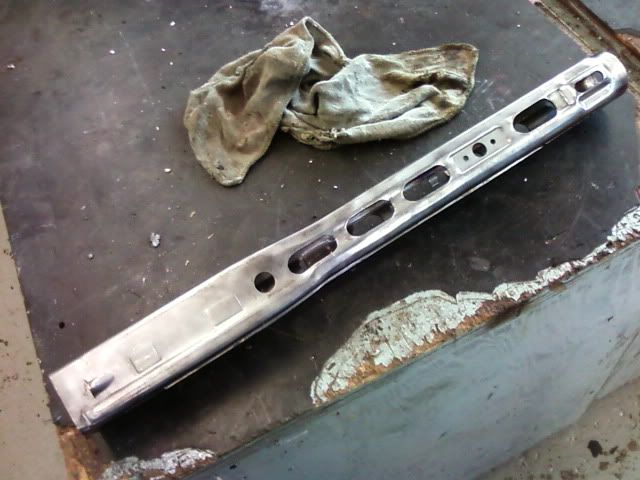
Also, as you can see, no apparent warping, so i'm happy! I will get my necessary stuff cut out first, then worry about the ventilation holes on the side after most likely, i still don't know the dimensions of them? Same as the holes on the top?


Re: Michael J's build #2
Michael-Sweet!! You are moving along nicely.Good work from our youngest member.  Did you do the string test-tight string down the center,top,bottom and sides/ Although I have found the eye can pick up and slight bends.It looks like you have really taken your time and spaced your welds.Keep up the good work! ---bil
"I dream of a world where I can buy alcohol,tobacco and firearms from the same drive-up window,and use them all on the way home from work!" Dogbert
Re: Michael J's build #2
Michael, I really have to commend you on your very nice build. I looks great ! !
Spell check is down and I'm too lazy to get the dictionary


