M53 build with BRP stampings
Posted: Thu Nov 13, 2008 6:01 pm
This is a repost of a build Im doing on the weaponsguild site. I figured it would fit in well here too.
Well my welding is getting better (at least for me) so I thought Id start on my M53 project. Ive already posted pictures of the front and rear BRP stampings so Ill not post em here.
This is also likely going to be a long term project as I do it when I feel like it and sometimes its just irritating . I just wanted to start posting as things were fresh in my mind.
The first thing I did was to square up my cut 53 shroud. Nothing special there just hit it with a dremel and cut the least amount off to make it square.
Then I had to measure out the front stamping section to see how much I needed to use as filler. I cut the shroud just behind the camming piece "stops" (the little ramp looking things in the middle of the cut sections). I also cut at the same area on the stampings and used the rear 1 1/2" for the filler.
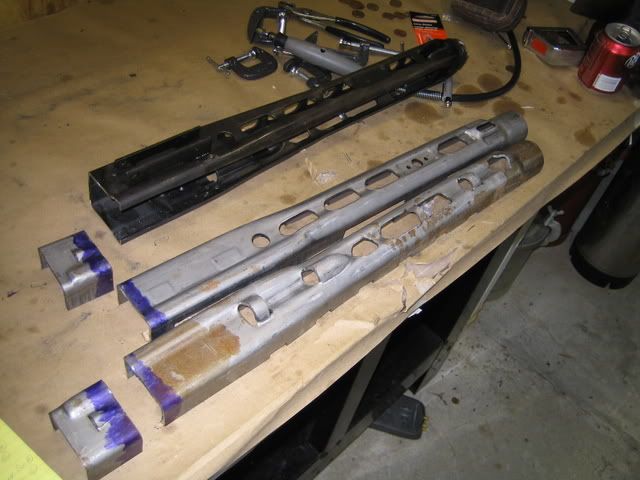
After that I had to measure out the difference in the top to bottom area of the stamping sections. Mine came out to needing a total of .497 so I cut .248 from each section your measurements may vary on that.

Here they are before trimming
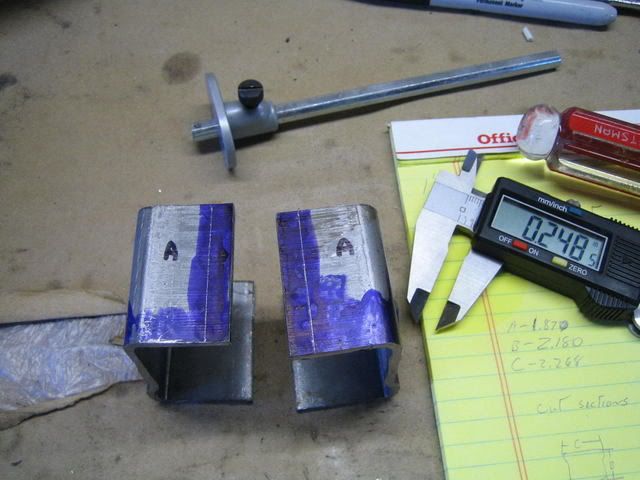
After they were sized it all came down to tacking them on.
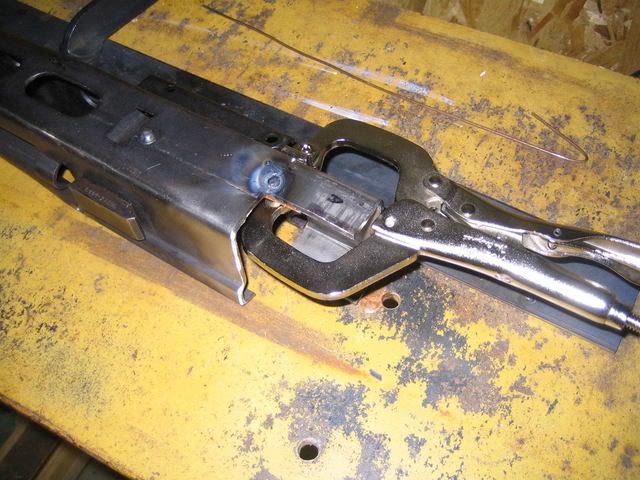
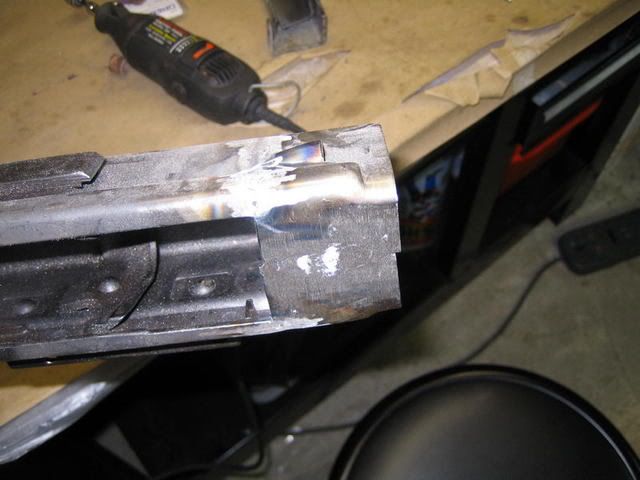
First I tacked the top then lower section next I welded it up. Im paranoid about warping so I welded about a dime to quarter size section at a time, let it cool then did the same on the reverse side. It came out pretty good. You can see where one is a tad longer than the other this is because one stamping was a little longer than the other. The ramps and stops came out even.
You'll notice that I have sides labeled "A" that is to make sure I have the top one on the top area and the bottom one on the bottom area. Basically I idiot proofed it.
The front stampings were dead on side to side and after test fitting the rear stampings it looks like they will be dead on top to bottom. So Im pretty happy with the results so far. Next Ill start on the rear stampings.
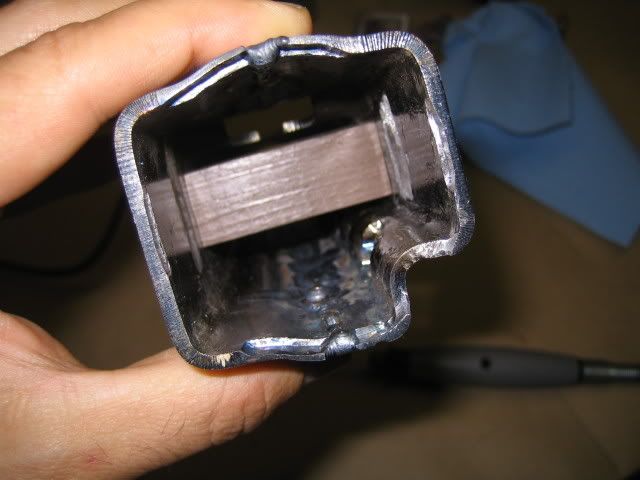
So I hit the rear part of the stampings and got that done heres what I did. First I measured it and cut the appropriate areas to make the rear stampings correct width wise. I didnt take any pix but had to remove about a 1/8" on both sides. Next I cut some wood the exact width of the INSIDE of the receiver and placed one in front and one in the rear.
Its already welded here but you can see how I did the spacers
I used 3 rubber bands to hold the shell together while I determined what I needed to remove to make the buffer fit. Basically it went "dremel some, put together, try to fit buffer". I did this for about 2 days.... I can tell you it sucked.....alot. In the end I got a really good fit though.
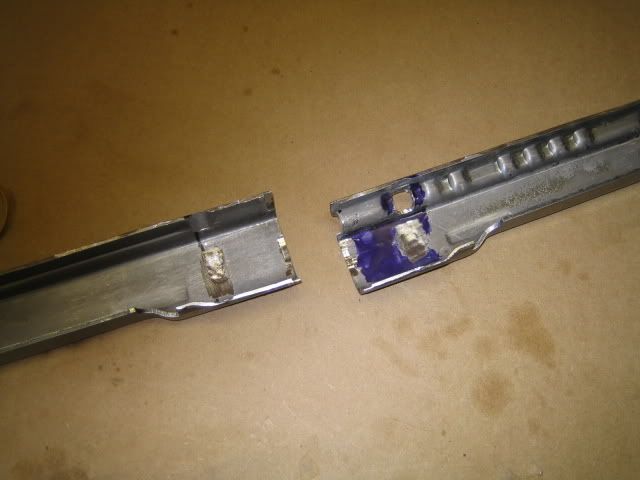
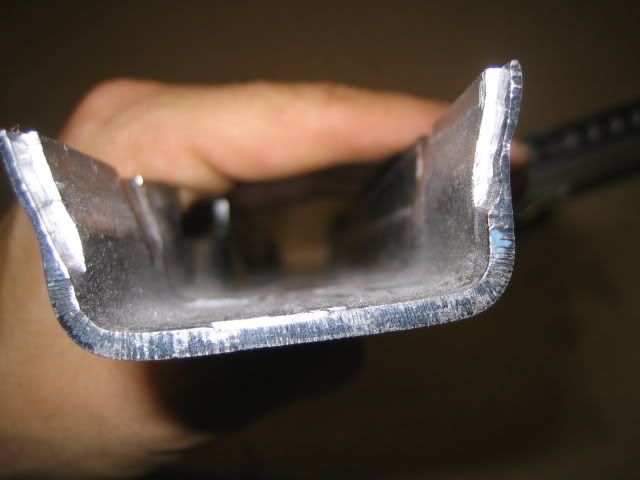
After the buffer was taken care of I did the cutouts for the charging handle. I found the easiest way to mark it was to lay it out on the table, mark the table and transfer that to the shell.
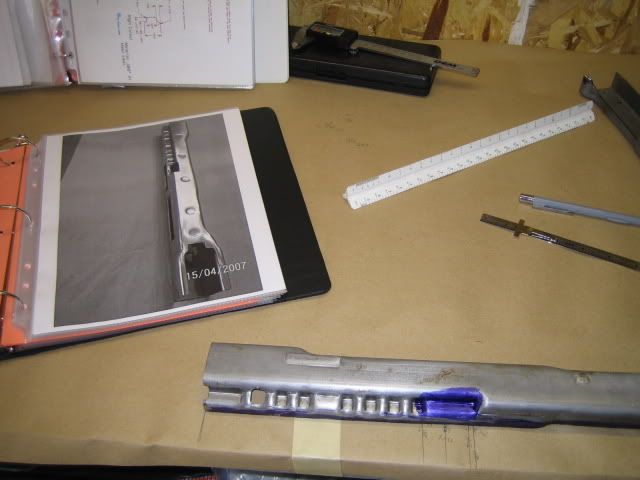
You will notice the binder there. I do one for all my builds (well both of them so far). It has all info that Ive found helpful off the net as well as some pictures to give me a good reference of what the final part should look like. It makes things real easy.
After all the dremeling was done the welding started
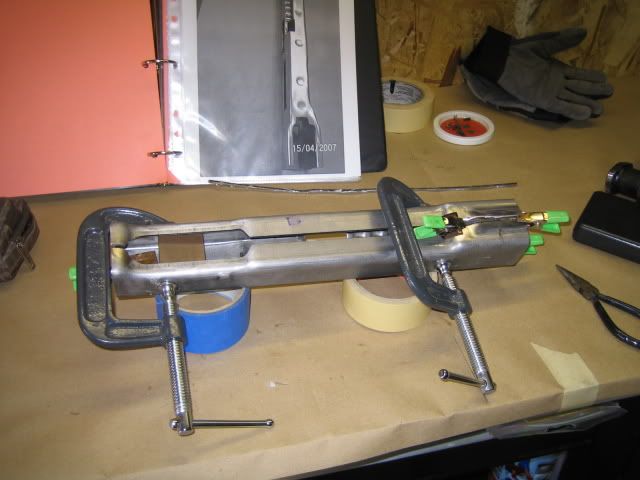
I spot welded on all the corners first with my spacers still installed, then welded it up. I took this painfully slow but Im not that good a welder so I didnt want to screw this up. It turned out pretty well.
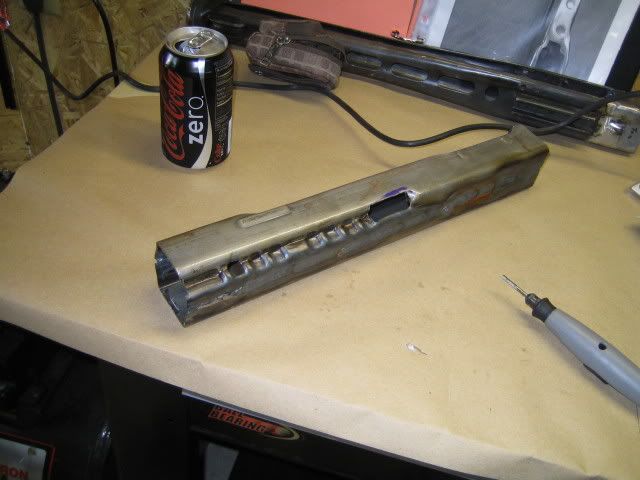
After that it was just grinding down the weld and grinding out the weld from the buffer area (you can see that in the spacer picture).
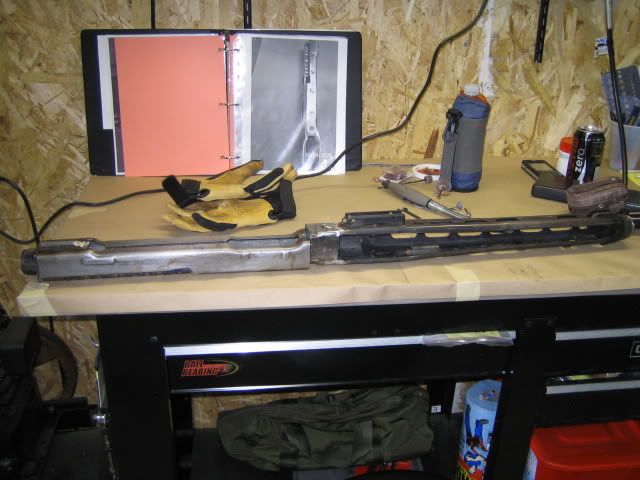
Now its starting to look like something
Well my welding is getting better (at least for me) so I thought Id start on my M53 project. Ive already posted pictures of the front and rear BRP stampings so Ill not post em here.
This is also likely going to be a long term project as I do it when I feel like it and sometimes its just irritating . I just wanted to start posting as things were fresh in my mind.
The first thing I did was to square up my cut 53 shroud. Nothing special there just hit it with a dremel and cut the least amount off to make it square.
Then I had to measure out the front stamping section to see how much I needed to use as filler. I cut the shroud just behind the camming piece "stops" (the little ramp looking things in the middle of the cut sections). I also cut at the same area on the stampings and used the rear 1 1/2" for the filler.

After that I had to measure out the difference in the top to bottom area of the stamping sections. Mine came out to needing a total of .497 so I cut .248 from each section your measurements may vary on that.

Here they are before trimming

After they were sized it all came down to tacking them on.

First I tacked the top then lower section next I welded it up. Im paranoid about warping so I welded about a dime to quarter size section at a time, let it cool then did the same on the reverse side. It came out pretty good. You can see where one is a tad longer than the other this is because one stamping was a little longer than the other. The ramps and stops came out even.

You'll notice that I have sides labeled "A" that is to make sure I have the top one on the top area and the bottom one on the bottom area. Basically I idiot proofed it.
The front stampings were dead on side to side and after test fitting the rear stampings it looks like they will be dead on top to bottom. So Im pretty happy with the results so far. Next Ill start on the rear stampings.
So I hit the rear part of the stampings and got that done heres what I did. First I measured it and cut the appropriate areas to make the rear stampings correct width wise. I didnt take any pix but had to remove about a 1/8" on both sides. Next I cut some wood the exact width of the INSIDE of the receiver and placed one in front and one in the rear.
Its already welded here but you can see how I did the spacers

I used 3 rubber bands to hold the shell together while I determined what I needed to remove to make the buffer fit. Basically it went "dremel some, put together, try to fit buffer". I did this for about 2 days.... I can tell you it sucked.....alot. In the end I got a really good fit though.


After the buffer was taken care of I did the cutouts for the charging handle. I found the easiest way to mark it was to lay it out on the table, mark the table and transfer that to the shell.

You will notice the binder there. I do one for all my builds (well both of them so far). It has all info that Ive found helpful off the net as well as some pictures to give me a good reference of what the final part should look like. It makes things real easy.
After all the dremeling was done the welding started

I spot welded on all the corners first with my spacers still installed, then welded it up. I took this painfully slow but Im not that good a welder so I didnt want to screw this up. It turned out pretty well.

After that it was just grinding down the weld and grinding out the weld from the buffer area (you can see that in the spacer picture).
Now its starting to look like something


